Showing posts with label clothing. Show all posts

Sunday, May 19, 2013

Old jeans into fabulous new skirt!

Looking for fabric for my daughter's doll project, I discovered this old pair of jeans prepped for making into a skirt.  I had taken out all of the inseam and then for some reason put them aside for another day.    I was wanting a new skirt for Spring, and this was a perfect, quick and easy project.

1.  Cut just beside (under) the seam on the front crotch on the curve so the cut away part will lay flat underneath side with the seam.  The seam can lay flat on top and be topstitched down. 

2.  On the back I pinned to get everything mostly flat and then sewed a straight seam down that line.  The open triangle in the back is lower and a little wider than in the front.  There is quite a bit of extra fabric on the inside of the back that can be cut away and zigzag or serge the edges to prevent fraying.

3.  At this point, I tried it on to check fit. Everything looked great except it dragging the floor.  While I love the floor length look, 4 kids running around makes floor lenght very impractical.  I took off 6 inches to bring my hem up to ankle length.

4. I've had this gorgeous, embroidered fabric sitting for a while, waiting for the right project.  I decided to cut my gores on the bias, so I matched a corner with the point of my triangle on the jeans and matched up the straight edges.   This made the gore fuller than the opening triangle which made a lovely flare.  I curved the gore just a bit to match the curve the legs were making. 

5.  Same for the back gore.  I zigzagged around all the edges of the gore to stop fraying. I also zigzagged the bottom of the jeans where I had cut them off.


6. Next I lined up the edges of the gore under the edges of the jeans and stitched along the previous seam lines.


7. To finish up the bottom seam I used a straight stitch to attach lace all around the bottom edge, then pressed the raw edge under and edge stitched to keep the lace facing down.


8. Sorry for the bad pic, didn't have anyone to be photographer for me.


Here's a little bit better. The skirt is very comfy and I've been wearing it everywhere.  This only took a few hours one evening.

Sunday, August 21, 2011

Birthday Present


Needed a quick and cute present for my niece and was thinking something for her Nintendo DS, but she's planning on trading it for a newer one soon, so I'm not sure what size it is.
Outside front with button
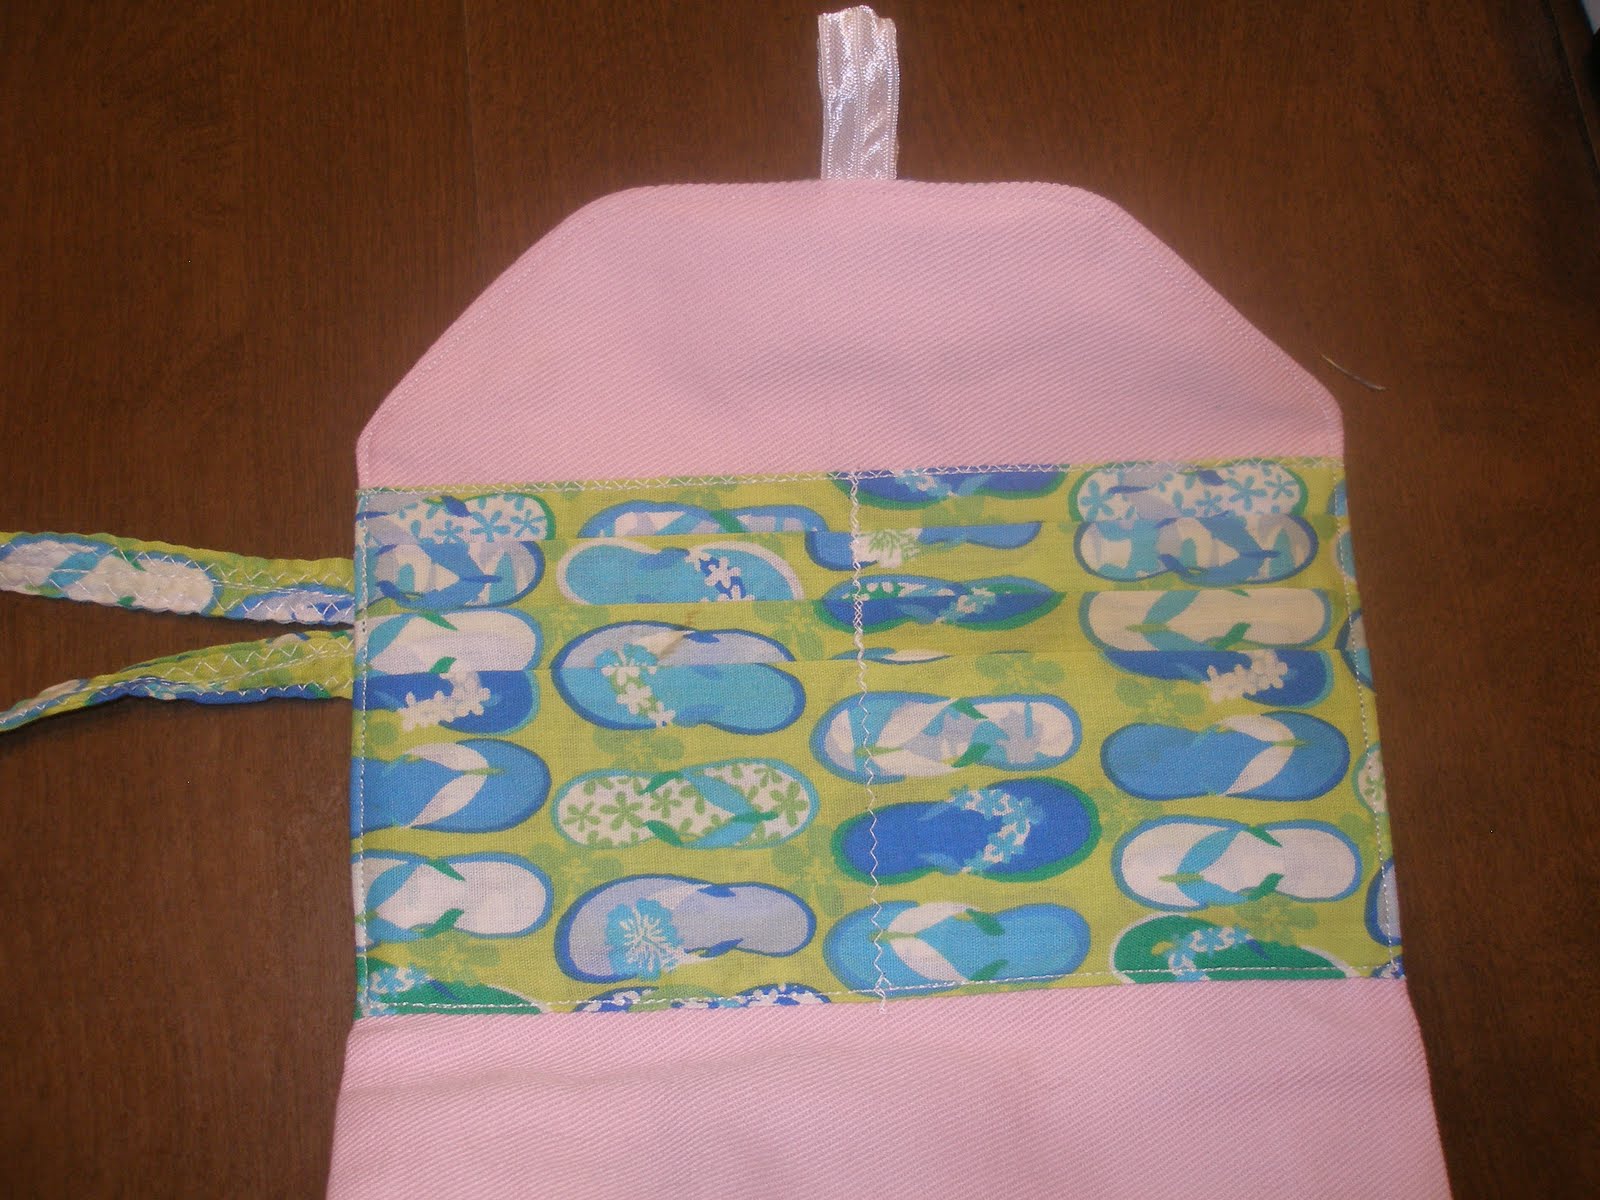
Inside pockets before sewing closed
Outside back with flower.

I came across this wristlet tutorial on whipup.net that looked like it would be flexible enough to be used for whatever she needs to carry.  I had this cute flip flop bright green fabric & a pink denim. The main piece is padded and the outside pocket is also padded. It has lots of little pockets for games on the inside. I changed the button loop to elastic instead of a fabric loop so it would have a bit more stuffing room. I also thought it needed something on the back so I made a flower like this one out of the pink denim. I had a cute little green flower button to finish off the flower & a big antique grey button for the front.

Back view with safety pins
"Give me the camera, Momma"
Also I finally got a picture of this cute dress I made for S. about a month ago. The main fabric was a large flat sheet we found at Goodwill for $3 (I'm getting lots of use out of it) The contrast fabric was from Nana.  The pattern is from this cute ruffle top I was thinking of making for myself.  Making clothes for the 19 month old is so much more fun.  I followed her instructions as is. The shoulder straps are a little long so I think I'm going to add buttons on the back so I the straps can open to put on. Currently she's just wearing it with safety pins. It's floor length for her but she likes it and it's super cute so I think I'll just leave the length for now.